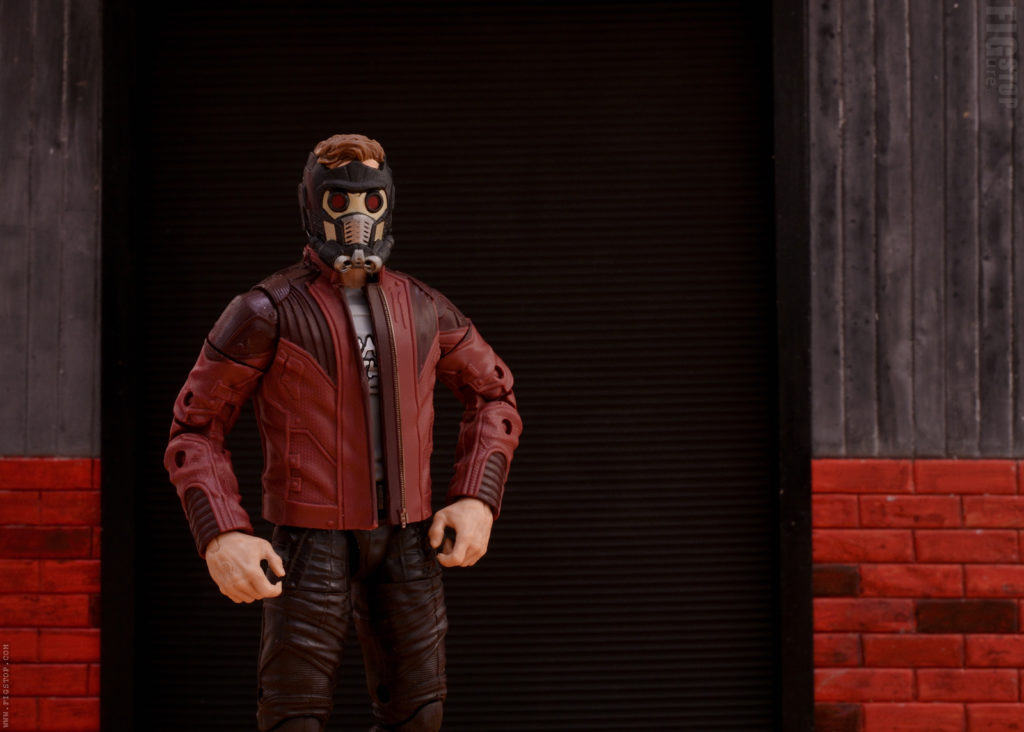
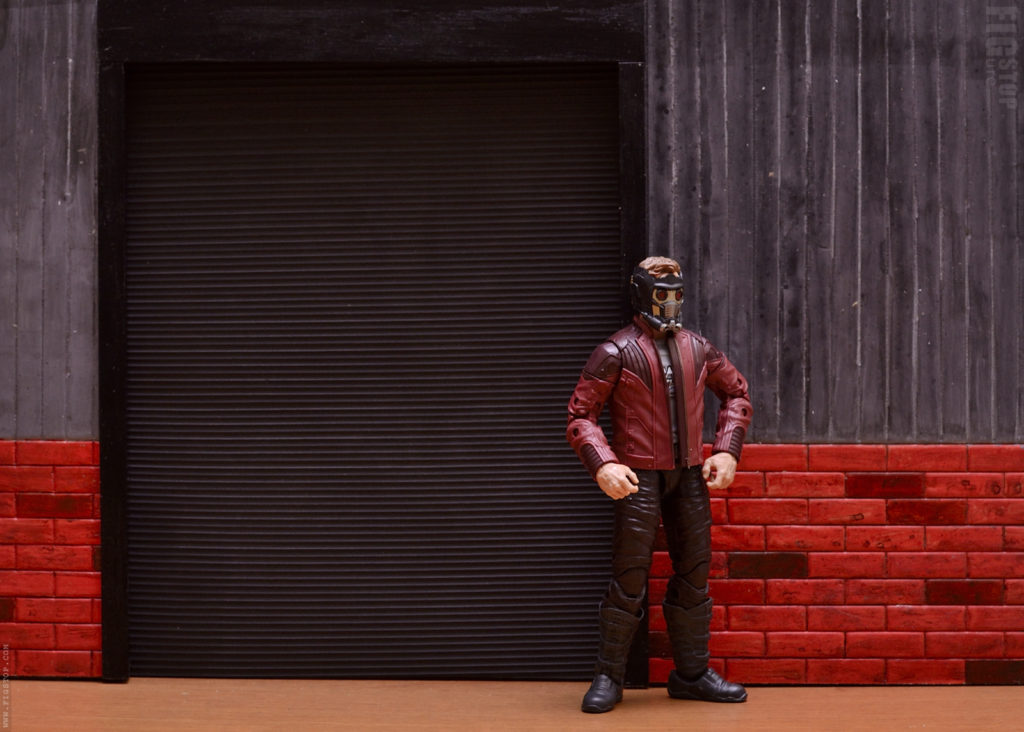
I have been collecting action figures for a while now and toy photography with action figures(mostly marvel legends) excites me a lot! I wanted a diorama to enhance my indoor photography but buying a decent one for 1:12 scale seem like a long shot! So I been thinking of building one myself and time kind of dint work in my favor! Finally the Cover-19 lockdown forced me to sit inside for prolonged time so I ran out of excuses and started the diaoram build… here is the full story!
I looked at lot of options and after a lot of thinking, I decided to build a garage/workshop where I can put my 1:12 scale models and take photos of! I am a big fan of brick wall so I decided to go with it, also wanted kind of metal sheet work. So I ended up creating a photoshop rendering and it looked something fantastic! I am a web designed by profession and I am pretty good at what I do, so my photoshop rendering will usually look better that my dioramas! Lets start…
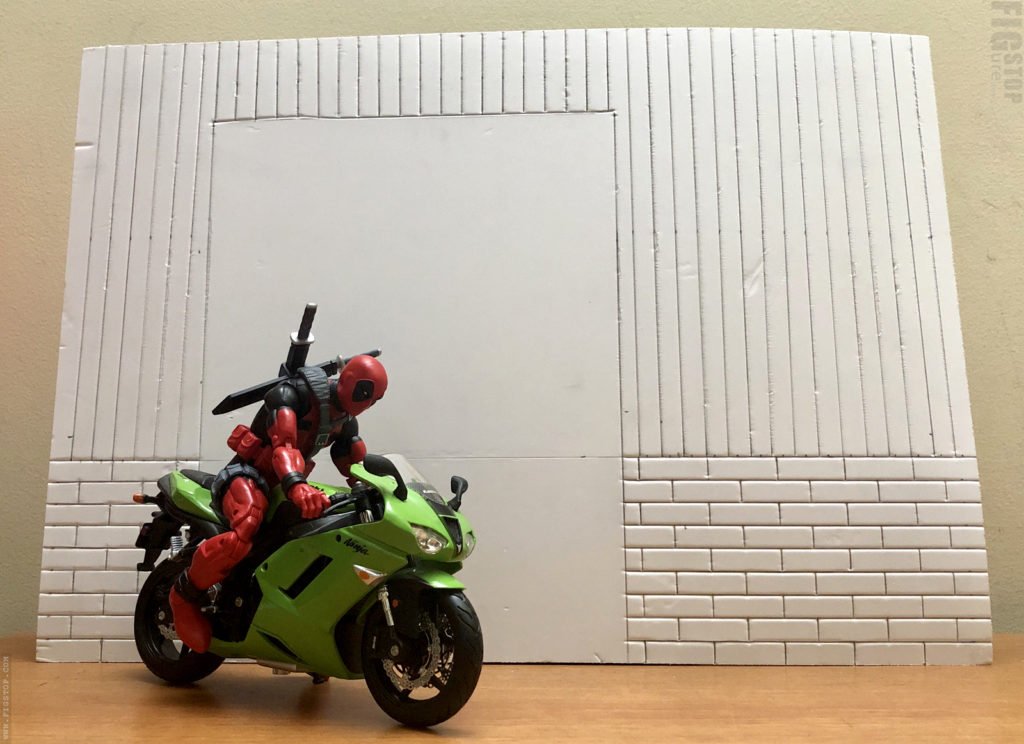
I started with a simple pencil drawing of the brick area, because I am not that great when it comes measurement and straight lines! But I ended up with some accurate measurement and ended up with a cool platform to start my growing process! The vertical straight lines are not that much of an issue, which is why I picked this design!
Then came the scoring process and to my surprise it went quite well! In fact I was trying hard to get some cracks. I did everything like sandpaper, aluminum foil and even scratches with unsharp knife… but I partially succeeded on this front!
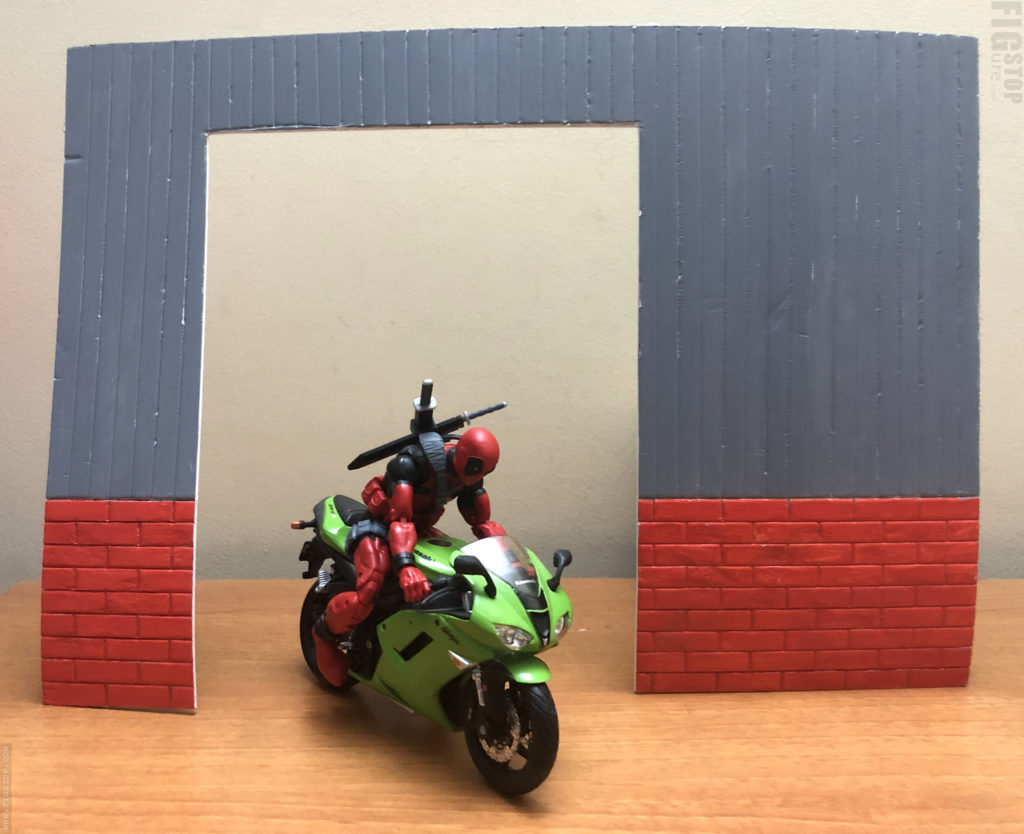
With the base ready, then comes the painting part! I wanted explore some new look for my diorama (most diorama follow a rustic old building style) so went with really bright red for the brick… but because the red I had was like a scarlet I have mix some shade of yellow/orange to get the shade of brick! The grey also was mixed shade of black and white! Even though this is a base coat my design moved from steel sheet upper part to old wood style!
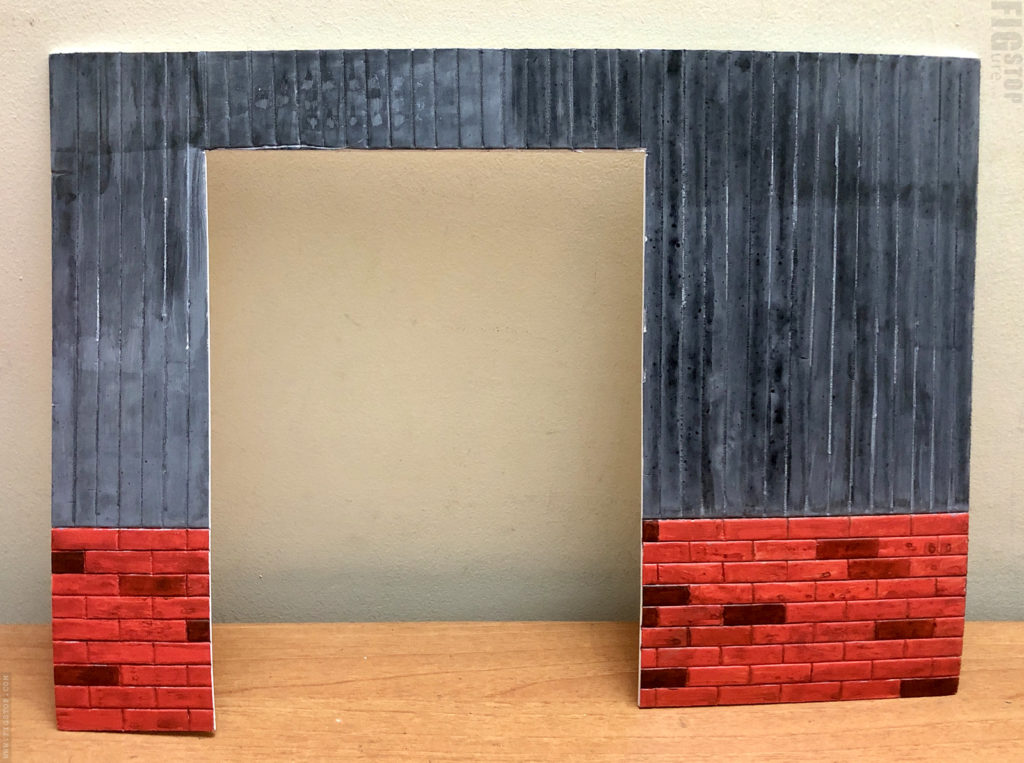
Because I wanted a partial brick wall structure, I added some extra details on brick by adding deeper and lighter colors! I also added some black wash to enhance the details of bricks and also the metal works. This time I realized that 5mm foam board is not strong so I added some hard cardboard.
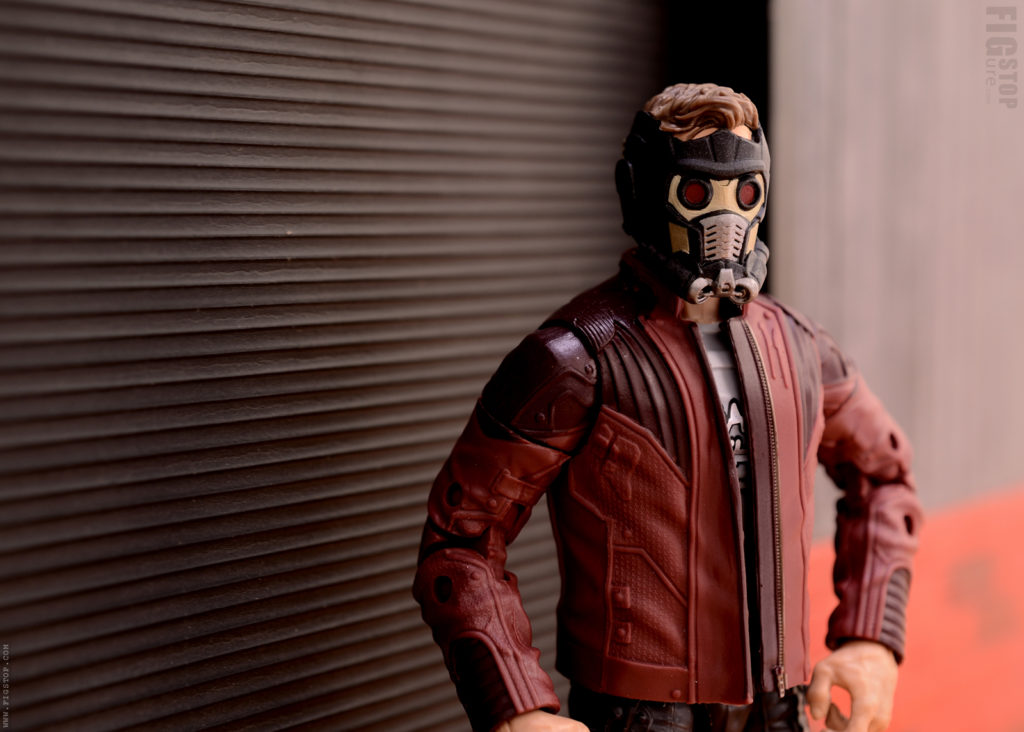
I also added shutter which is basically a 3d form sheet with that texture, so made my job easier! I wanted to magnetism this shutter but right now I don’t have any magnets lying with me so I parked that for later…(now it is fixed via hot glue)! For size comparison I placed a 6inch Marvel Legends Starlord action figure.
The finish touch for this build is the bezel around the shutter to add a bit of depth! Because my form board is only 5mm thick, I have to cut 3 pieces and put it in right places! I painted it black, which I liked it and blended quite well with my overall layout!
The depth that the extra bevel is visible in these closeup shots! I was having some trouble with paint strokes but here that issue had made this piece far better! The serrated edges created by my cut had added some more detailing mimicking a a real woodwork!
Though my first attempt, the final output ended up good! I am for sure confident that this will enhance my indoor photography! I did a trial photo session and every frame(close up, wide and one in between) ends up looking nice! I have more updates coming in the future, so stay tuned. Until next then… Ciao!
